Maple syrup season is upon us! In parts 1 and 2 of this series we described how to prepare for the season, what equipment you’ll need, and how to tap your trees and begin boiling the sap. This post describes the finals stages of boiling and bottling maple syrup.
At this stage you’ll have collected sap and boiled most of it down in a large pot to a more manageable volume (but not so far that is has become syrup). You should now switch it into a smaller pot, as this makes the finishing process easier.
Finishing: Maple syrup is finished when it reaches a sugar content of 66-67%, and this occurs when the boiling point of the syrup reaches 4.2ºC above the boiling point of water. Water boils at about 100ºC, but the actual temperature can vary by a few degrees depending on location and weather conditions. So, on the day you finish your syrup, you’ll need to boil a small pot of water until it is bubbling vigorously, then measure the temperature. Add 4.2ºC to the temperature of the boiling water, and this is the temperature at which you should stop boiling the syrup. You can also check that the syrup has a ‘syrupy’ consistency by holding some on a spoon for a moment until it cools, then pouring it back into the pot and watching how it flows. If it seems too watery, keep boiling for another minute and then recheck. Do not walk away – maple syrup can burn very fast!
Filtering: Once the syrup has reached the desired temperature and consistency, remove from the heat and pour through a filter. Coffee filters work, or you may be able to find a maple syrup filter at a local hardware store. You may see a small amount sugar sand in the filter – a sandy substance made up of mineral deposits that boil out of the sap. Sugar sand is completely safe to eat, so don’t worry if the syrup comes out a little cloudy.
Bottling: While the syrup is still hot (if it has cooled then gently reheat to 90ºC), pour into clean mason jars or glass bottles. Screw on the lids, then lay them on their side to cool (this process seals the containers and ensures the syrup will keep). Your syrup is now ready! When done correctly, bottled maple syrup will keep at room temperature indefinitely, but if it seems a little watery then store in the fridge and consume within a few weeks.
How to know the season is over: Once the nighttime temperatures stop consistently dipping below 0’C, the buds on the trees begin to swell as they prepare to leaf-out. At this point, the sap flow decreases, the sap becomes cloudy, and the syrup develops an off-taste. This is the time to stop collecting sap, and in the Haliburton region this usually happens during the middle of April. Remove the taps from the trees, and clean up all your equipment. You do not need to treat the holes in the tree, but make sure the tap is removed as soon as possible to allow the tree to begin healing.
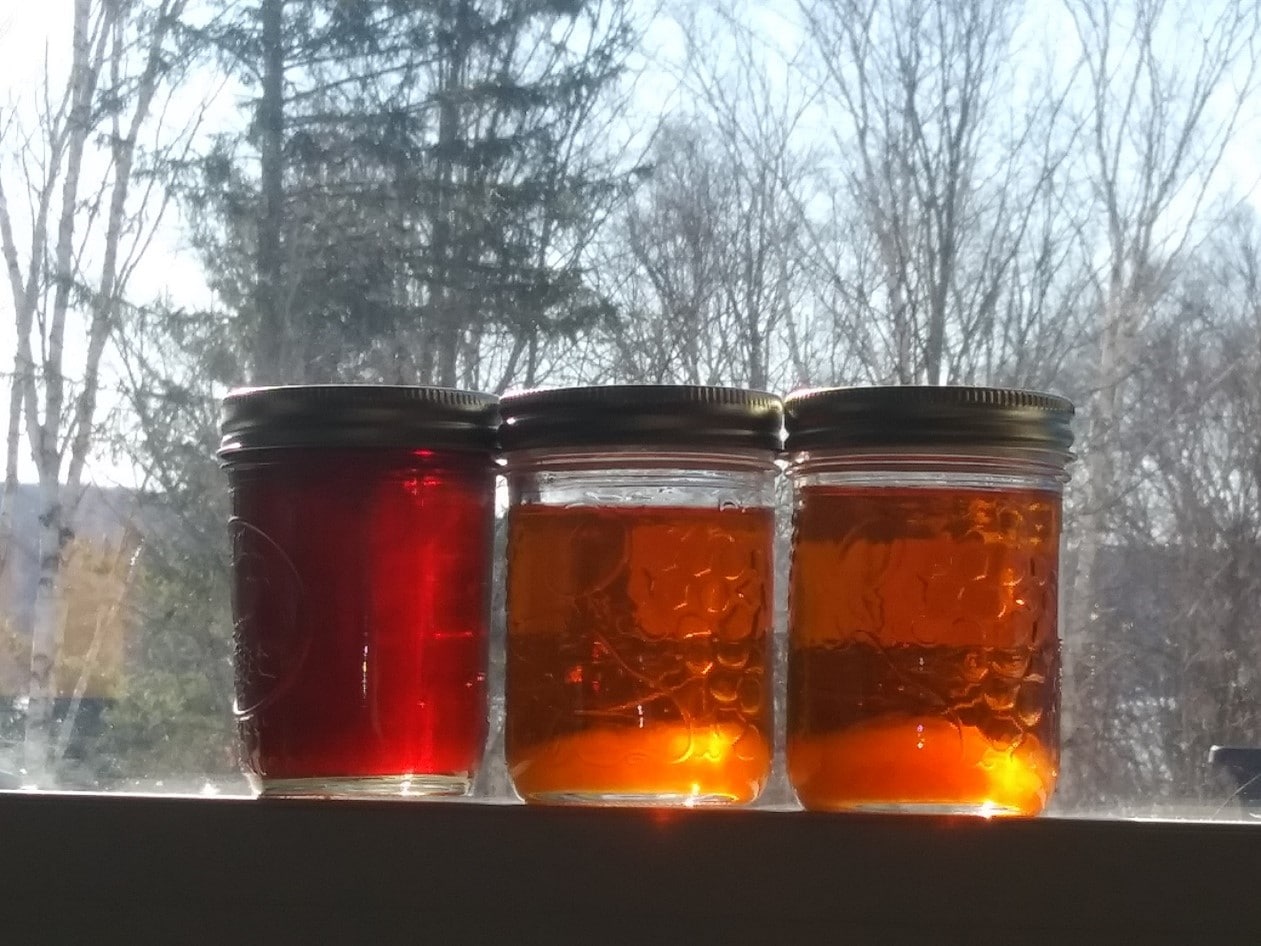
Some home-made syrup in mason jars. The syrup usually gets darker in colour throughout the season.
Written by: Adam Gorgolewski


